
The first 6 steps are exactly the same for both a successful in person Singing Time AND an online Singing Time. Let’s get started!
- Decide the songs you will use for the month. (Notice you are receiving a
handout with the 2021 songs by month along with this handout. You can also get those
songs online.)
a. Choose at least one song with a strong beat to contrast with the other two
songs.
b. If the songs for the month do not include a song with a strong beat, include
one anyway for better flow to your singing time. - Choose one song to plan out from the songs you have chosen.
a. Choose three (to four) different activities to go with that song, a movement
challenge, a thinking challenge, a visual challenge, and perhaps something else.
If you can’t think of ideas, go to the YouTube channel “Teaching Primary Music,”
or the blog Teachingprimarymusic.com. There are also many other resources.
b. Your activity should be about 3 to 5 minutes long. You are not trying to teach
the whole song at once. Use the line upon line principle. Focus one activity on
the rhythm or beat, one on certain words, and one on something visual.
c. When you have finished with that one song, go to the next song and choose a
variety of activities to go with that next song.
d. Do the same thing for the last song for the month, choosing activities that
contrast with each other to help teach the song. - Now that you have 3 or 4 activities for each of the songs, decide how to
“augment” … meaning adding a new challenge so that the children will sing
the song more than once.
a. Plan to sing the song through with your activity. Now, what challenge can you
add to have a reason to sing the song again?
b. You will be planning to sing the song at least twice or three times through,
focusing on something different each time. - Focus in on one Sunday and then plan the singing time. You will be
teaching 3 different songs, each with their own activity.
a. Decide which activity to use for each of the songs in the Singing Time, one
activity per song. Choose activities that contrast. (Not every activity that day has
a word challenge, not every activity that day has a movement challenge, etc.)
b. Plan how you will move from activity to activity with very little talking in
between.
c. Engage the children right from the start (for instance, “Here is the pattern…”)
and move seamlessly from activity to activity without much talk.
d. Write out your “game plan.” Write the name of the song, what the activity will
be, what the augment challenge will be, and anything you need to remember. - Gather or make any needed manipulatives for those particular activities
that you chose.
a. Do you need rhythm sticks or two pencils? Do you need an egg shaker or a small
plastic container with some rice inside? Do you need a scarf or tissue to wave?
b. Is there a word game that will need a handout if you are doing it online?
c. Do you need to make yourself a poster with the words to the song (just for you,
not the children)?
d. Do you need two paper plates or two pieces of paper for a paper movement
pattern?
e. If you are telling a story, is it written out so that you remember the flow? - Practice the flow of the singing time.
a. I do this in my head… as I’m praying for help to best teach the children, or as I’m
going on a walk, etc..
b. I do the movement patterns in front of the mirror at least once to make sure I
have it down.
c. Look at your “game plan.” Do you know what song and activity comes next?
And now the online video part…
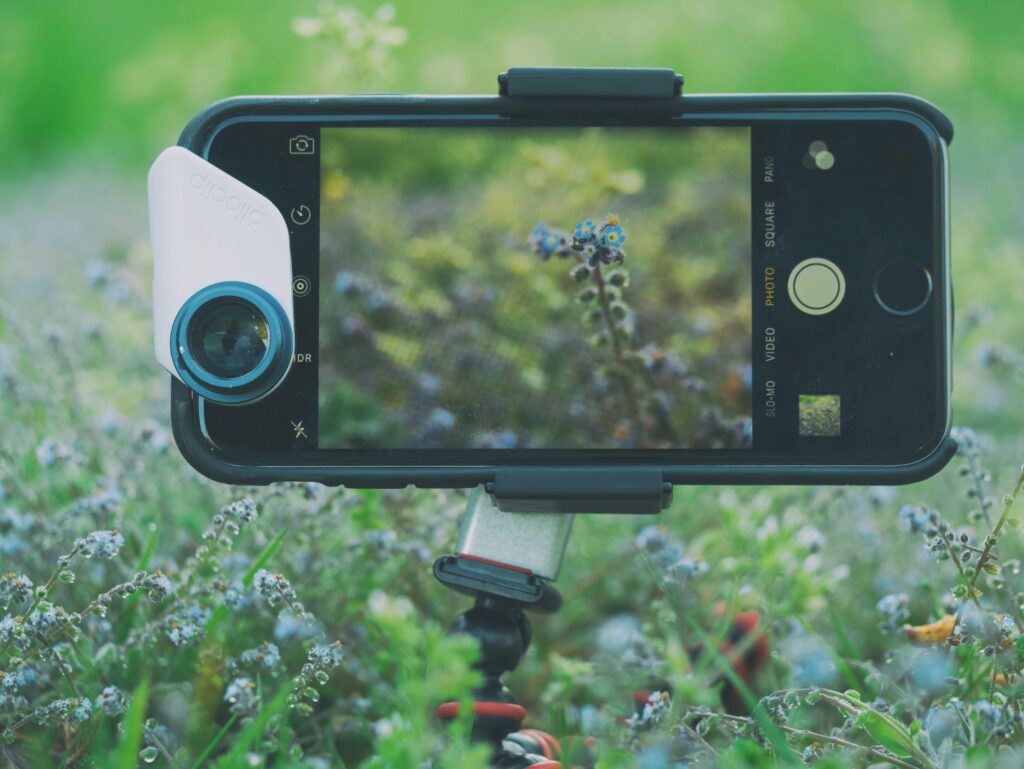
- Find a surface to place your phone or camera on that is level with your nose as you are
singing. - Be far enough away from the camera so that the children can see “most” of your hand
motions, but not so far that they cannot see your facial expressions. You don’t usually
need to show your feet. - Make sure the lighting in the area you are filming is good so that the children can see
your face. - Choose a background that is not too busy.
- Turn on your camera and hold still (usually with a smile) for the beginning and end of
each segment you film so that you can have time to edit and piece things together. - Download the segments you have videoed into an editing program. A free one is Black
Magic Davinci. - Edit your Primary Singing Time.
- Upload it to YouTube or your ward Facebook page.
Good luck! Post your online singing times in the comments!
Sandra Arp
Thank you! This helps the class so much!
Carolyn Haynes
Where and how do I find the handouts that are mentioned at different times in the posts?
Sharla Dance
I usually put the handouts in the comments below the posts on the Facebook page Sharla Dance Teaching Methods. Do you have a certain handout you are hoping for?
Rebecca B Conger
Sharla, thank you again and always for your excellent and inspired recommendations. I am looking for the handout that you used to teach Family History. Could you please share that with me?
Thank you sincerely,
Rebecca Conger